Here is a tutorial of one of the possible methods I use to recreate decorations for Mecabricks. This is probably the most time consuming one but it also gives the best result. This post comes in supplement to the general information I gave here.
I use Photoshop and Illustrator in this tutorial but you can use any software that you like. Another good free option is the pair Gimp and Inkscape.
Step 1
Take a picture or scan the piece you want to recreate. If you don't own it physically, look for high resolution images on the internet. in this example I used my DSLR to take a picture of it.

Step 2
To make it easier to vectorize, crop the photo before opening it in Illustrator.

Step 3
Draw the edges in Illustrator. This step can be very time consuming if you wish to obtain a good result.
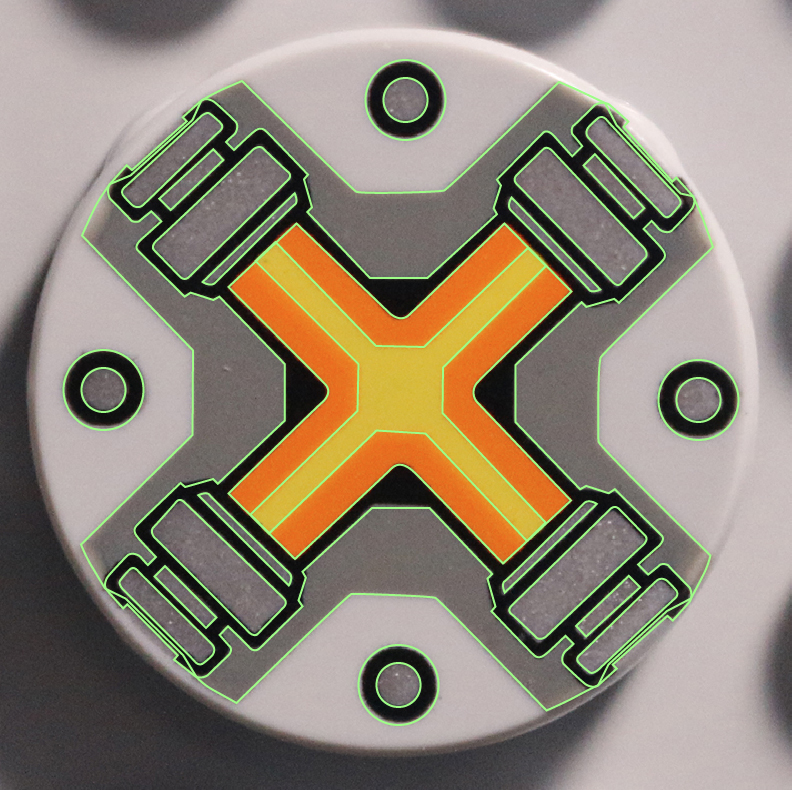
Step 4
Colour the decoration and remove the edges. Use the colour chart that you can download here to complete this task.
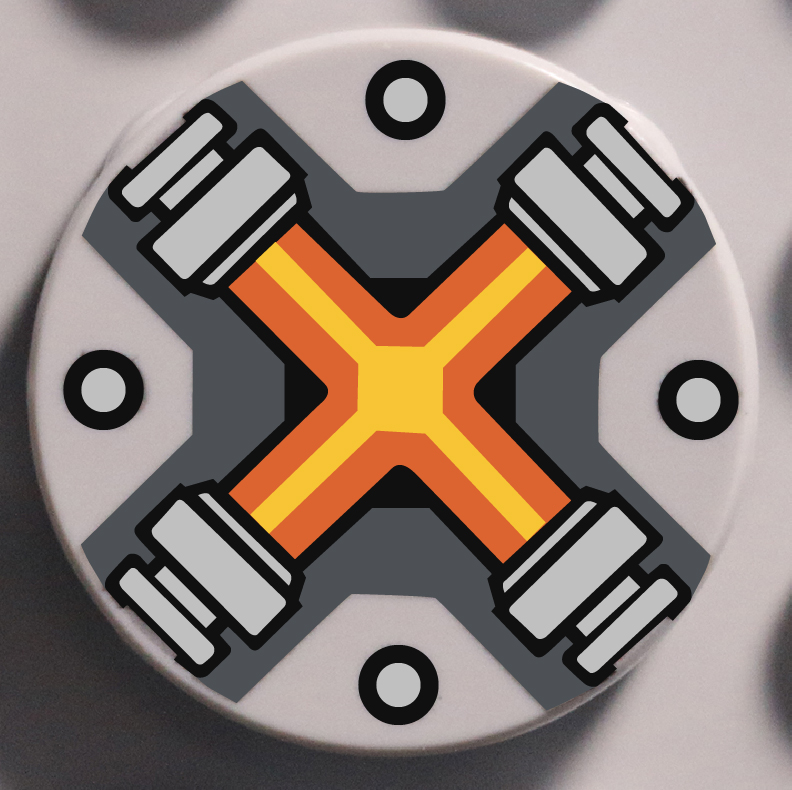

Step 5
Look for the appropriate uv map in this folder and open it in photoshop.
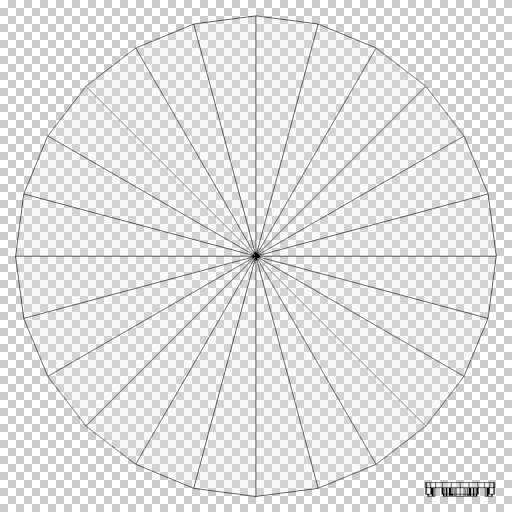
Step 6
Add a layer with the background colour using the hex value from the colour chart.
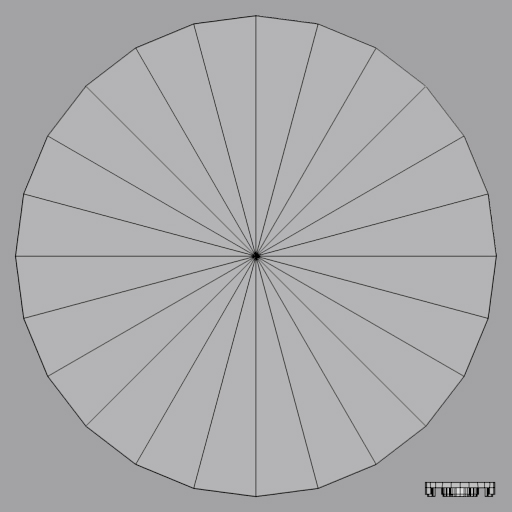
Step 7
You can create another layer and add your original image under the uv map to help scale and locate the decoration.

Step 8
Import you vectorized decoration as a new layer. In Photoshop I select the option Paste as Smart Object. Scale and locate it correctly on the uv map.
Step 9
Hide all the unwanted layers before saving it as a png file.

Step 10
Send me your decoration via email using the Contact Us link in the footer of this page. Please include the references and names from LEGO - if available - and from bricklink to make it easier and quicker for me to add. They can be found on http://brickset.com and http://www.bricklink.com
I'm trying to recreate decoration and I'm starting, from scratch, with one part I own. The next step will be minifig, if I succeed the part 😃 I never used illustrator, and it's actually not so easy I could have imagine 😉. Anyway, that's interesting and this can help Mecabrick's builders...
I followed Scrubs' tuto (many thanks for that) but, please excuse my igorance, I don't understand everything. The first one is : why using Illustrator at first and not doing everything in photoshop ? Is it for the vectorization ? It may be because I'm just discovering Illustrator that I'm wondering that... 😮
The second question is : how do you choose the right color in the color palette ? I mean, for example, for the colors of a torso, you can have different "blue", how select the good one(s) ?
One more 😉 for what I will call the "printing imperfections" : do they have to be recreated too ? (same as on the pictures I took) or do I try to guess the "perfect" shape ?
Thanks for your help, I'll appreciate 😃
Hi and welcome on mecabricks
For the first you can you use any software to draw
For me I use photoshop cc
For the second I try to choose the most similar colour in table that we have
And the last one - yes try to complete the same shape
Good luck)
Thank you Stas !
So, if i can summarize : the purpose is to have the "most closest drawing" in png format on the right uv map, regardless of the software used.
Awesome. I will have to download this new update. It makes things so much easier 😃
I've updated the swatch libraries again, since Bright Orange has been changed to #F57D23. Download link in my post above.
I might update, modify a couple of not used often others when I'll be back next week.
I will also update the Mecabricks to Blender template when I am sure of the ones to change.
For decorations, only the ones where the background colour has been update shall be changed. If it is just part of the decoration no need to touch it.
...New decorations should use updated colors, though. 😉
Yep, definitely!
So I'll try to correct all my decorations )
Hey Scrubs, could you update the PDF colour chart? I don't use Photoshop or Illustrator. 😃
Colour chart has been updated: http://www.mecabricks.com/docs/colour_chart.pdf
I've updated the Photoshop/Illustrator/GIMP/Inkscape/Krita swatch libraries to add the four new metal colours for decorations. That should be the last update for the foreseeable future. Download link in my post above.
I've updated the Photoshop/Illustrator/GIMP/Inkscape/Krita swatch libraries to add the four new metal colours for decorations. That should be the last update for the foreseeable future. Download link in my post above.
Thanks!
The .gpl has been updated finally. Download link is the same as before.
So, is this just for printed decals or also for stickers? [Edit: Forget about this]
And when you scan something, it isn´t perfectly measured out, right? So what´s about failures? [Edit: DON´T forget about that]
For both.
What do you mean by failures?
@Scrubs
I mean, how do you know it´s exact? When having a photo of a decal/sticker or whatever you´ll have some sleight measurement incorrections (perspective?).
I mean, TLG would have some sort of "lines are xx.x mm., those lines are xx.x mm." etc., how could you/the creator know that his work is exactly and not sleightly incorrect?
Essentially the sources for tracing decals should be good. This can either be a good photo (undistorted, well lit, etc.) or a good hires scan. Together with the UV map available for decorated parts and the color table being used to ensure consistency across the library, this allows for largely correct results, oftentimes even better than the printed parts and stickers coming from TLG. 100% correctness would require the original TLG sources, but for the purposes here on MB the quality is certainly good enough - especially if you compare this with LDD or LDRAW decals. I mean, just take a look at the models and renders here.
LEGO, le logo LEGO, la minifigurine et les configurations des briques et tenons sont des marques déposées de LEGO Group of Companies. ©2025 The LEGO Group.
Mecabricks, le logo Mecabricks et tout le contenu non couvert par les droits d'auteur du groupe LEGO sont, sauf indication contraire, ©2011-2025 Mecabricks.