Hi Scrub and hello everyone.
I am willing to pay 20$ to full explanation how to get same picture in Blender.
Spent much time to find out how to get the LEGO baseplate rendered as shown below:
https://cdn.hipwallpaper.com/i/61/83/URpdwf.jpg
https://i.pinimg.com/originals/a7/46/21/a746211e70698c4199ce9ab746d3ed98.jpg
https://i.pinimg.com/originals/2a/3a/d6/2a3ad6907690c7f6b81bddca5762ea37.jpg
https://cdn.wallpapersafari.com/81/23/CnjkSP.jpg
Fast response will be highly appreciated.
Thank You!
Hi ruslanzpua,
Try importing a baseplate of any color from the workshop into blender. Make sure you have the proper add-on for Mecabricks and export as a .zmbx
Rotate the baseplate so it is upright.
Position the camera directly facing the baseplate.
Put a lamp above the base plate and in front of it (but not between the baseplate and the camera) This will give the shadows of the individual studs.
EDIT: As Scrubs says below, make sure the camera is in orthographic mode so you get the studs straight on.
Render!
This should give you what you want. IDK how much you know about Blender, this may not be enough information if you are a beginner. Hope this helped!
You shall also make sure the camera is set to orthographic.
Hello ArmoredBricks and Scrubs,
Thank you so much for your very valuable reply.
Yes, I am a beginner for the Blender unfortunately. I have spent almost a month to get a chance rendered it the same way. I tried it thru the really great Scrubs add-on ( Blender Light) but the edges of the studs are not curved but sharp so the lighting wont be proper as required and I failed again.
Here are the results for all picture rendered in the orthographic mode:
-
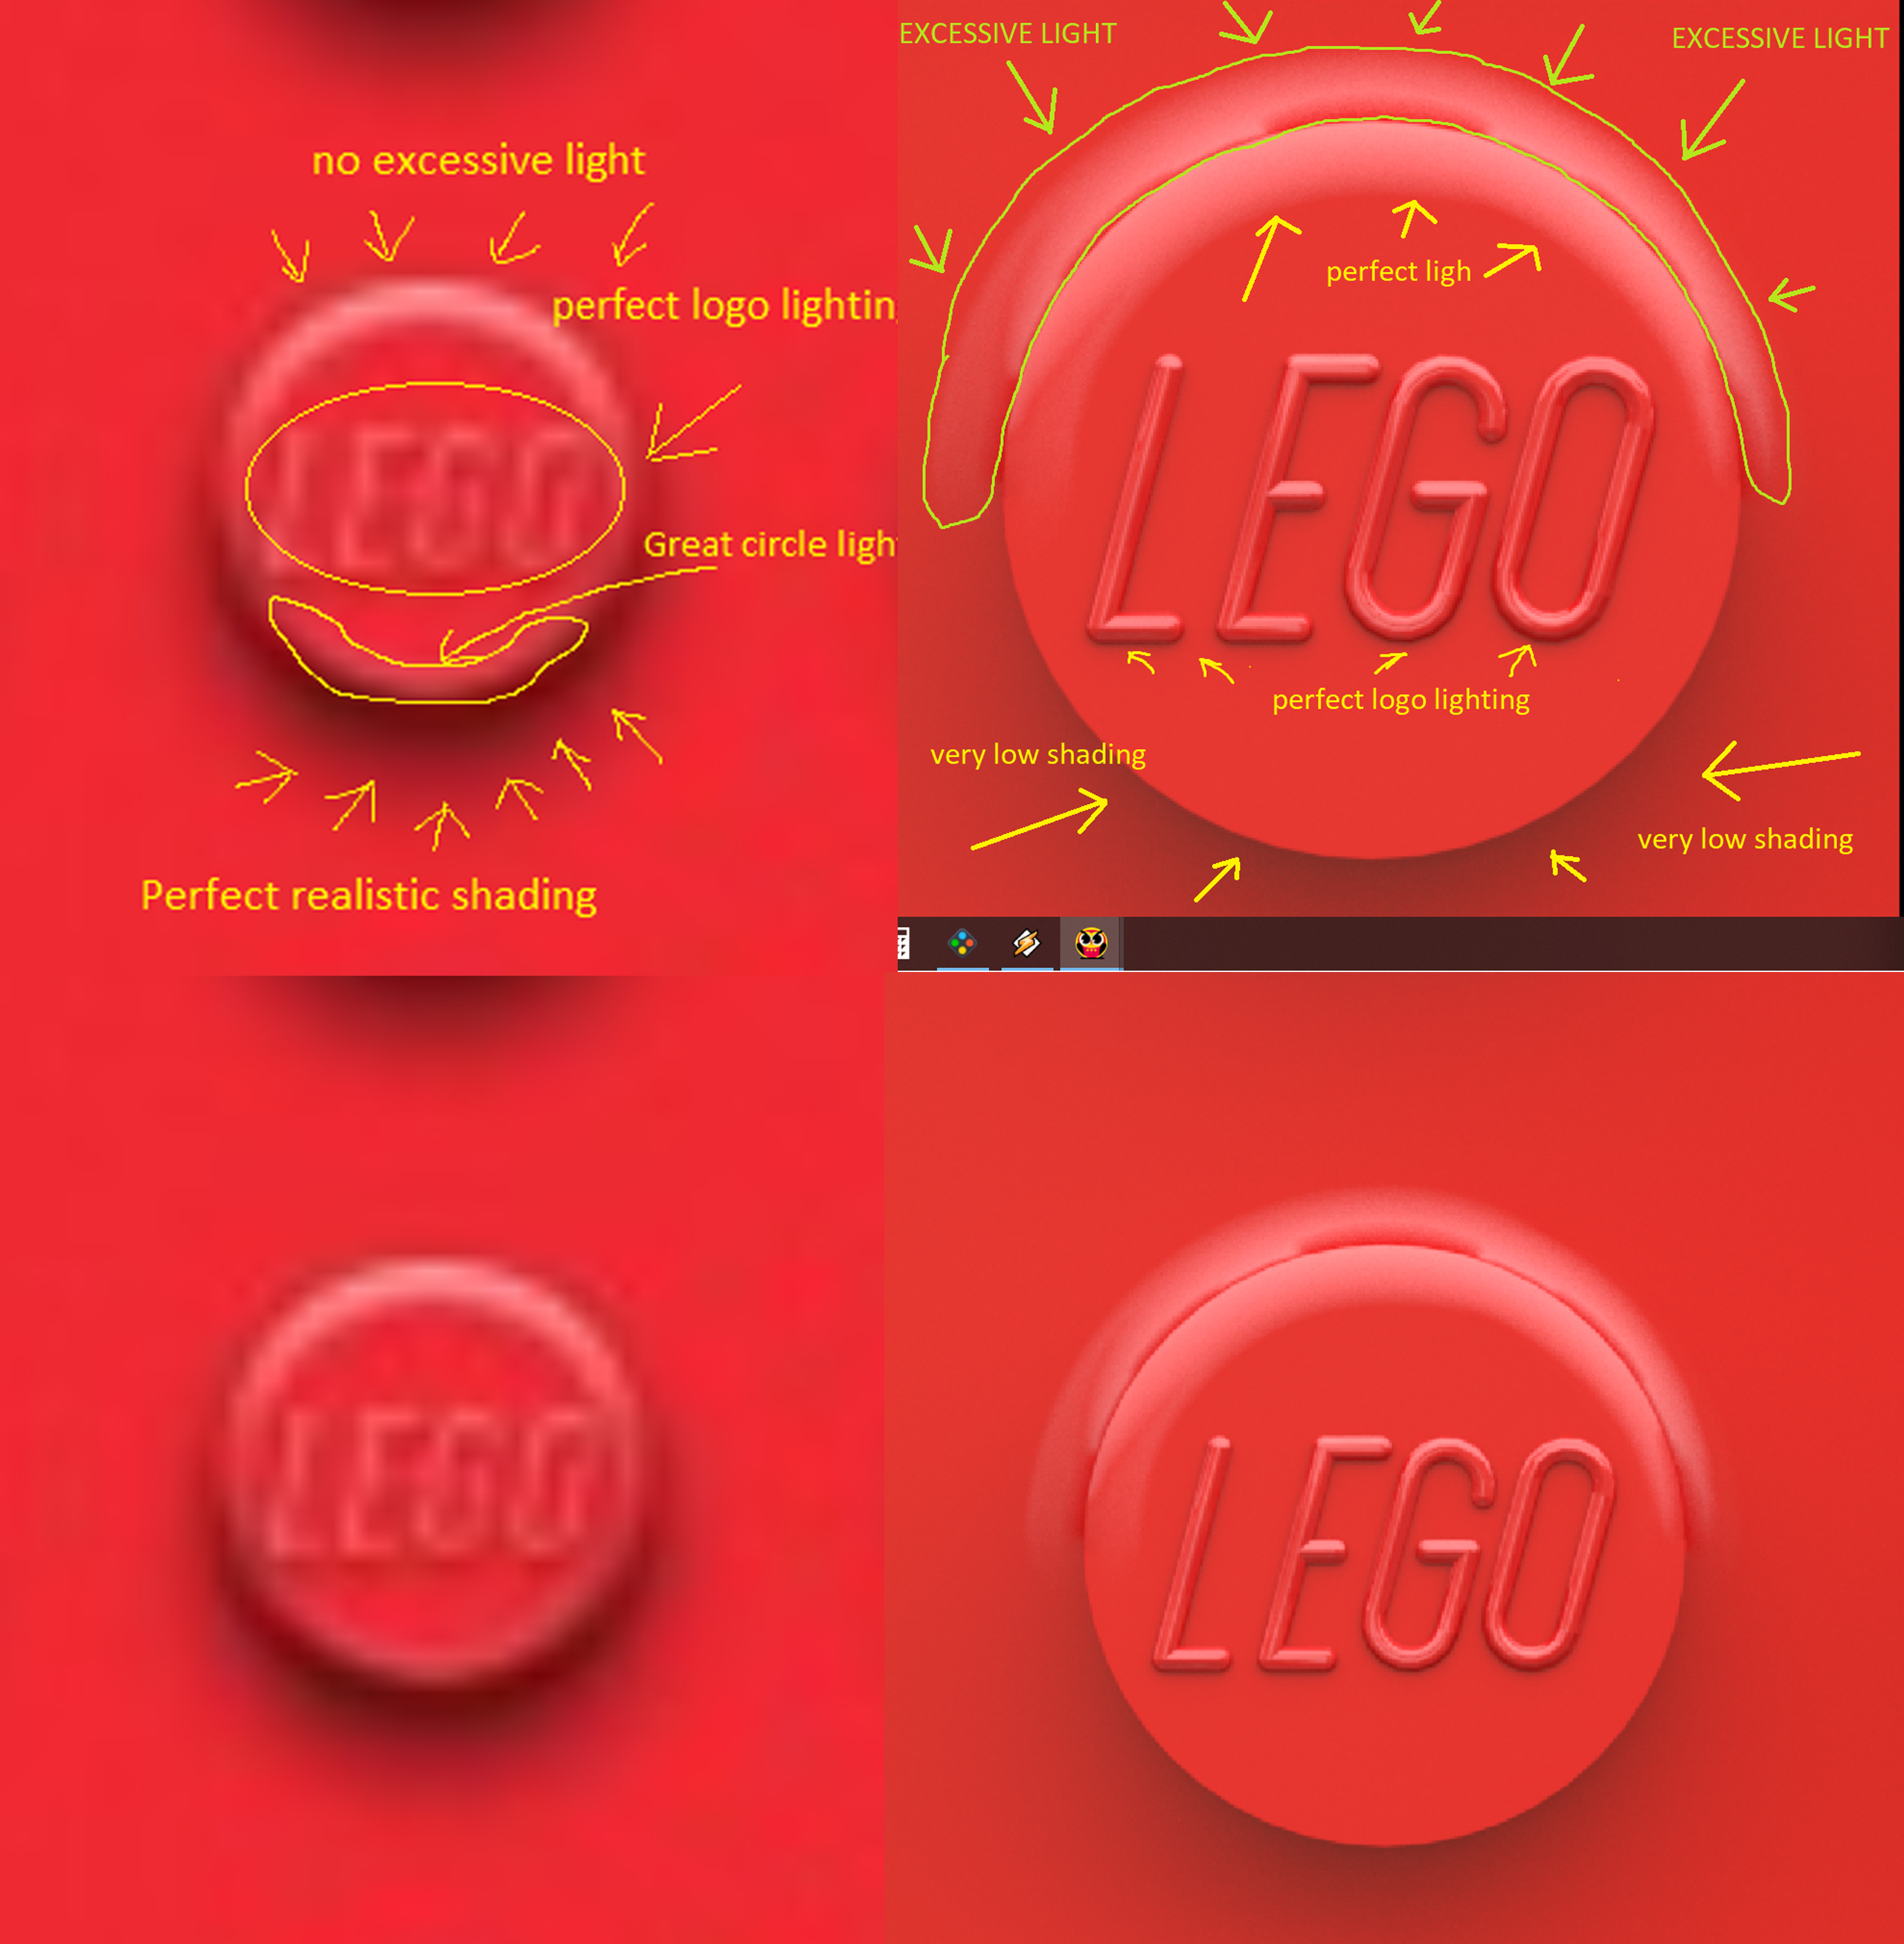
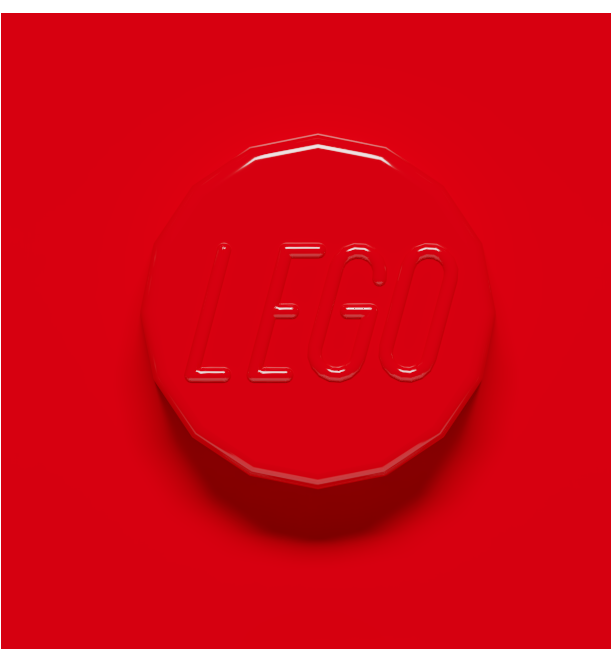
Stud.io - worked almost perfectly but there was a problem with the lighting and shading (https://i.paste.pics/6bac20455f2412737af0ff840cebce4c.png ) the problem with the excessive light and low shading is here (https://i.paste.pics/232bdd537f13451f622993825d2fc1d9.png). The Studio 2.0 with its built-in render seems to be the most realistic so far for me until I get 100% knowledge of how the Blender's shading works.
-
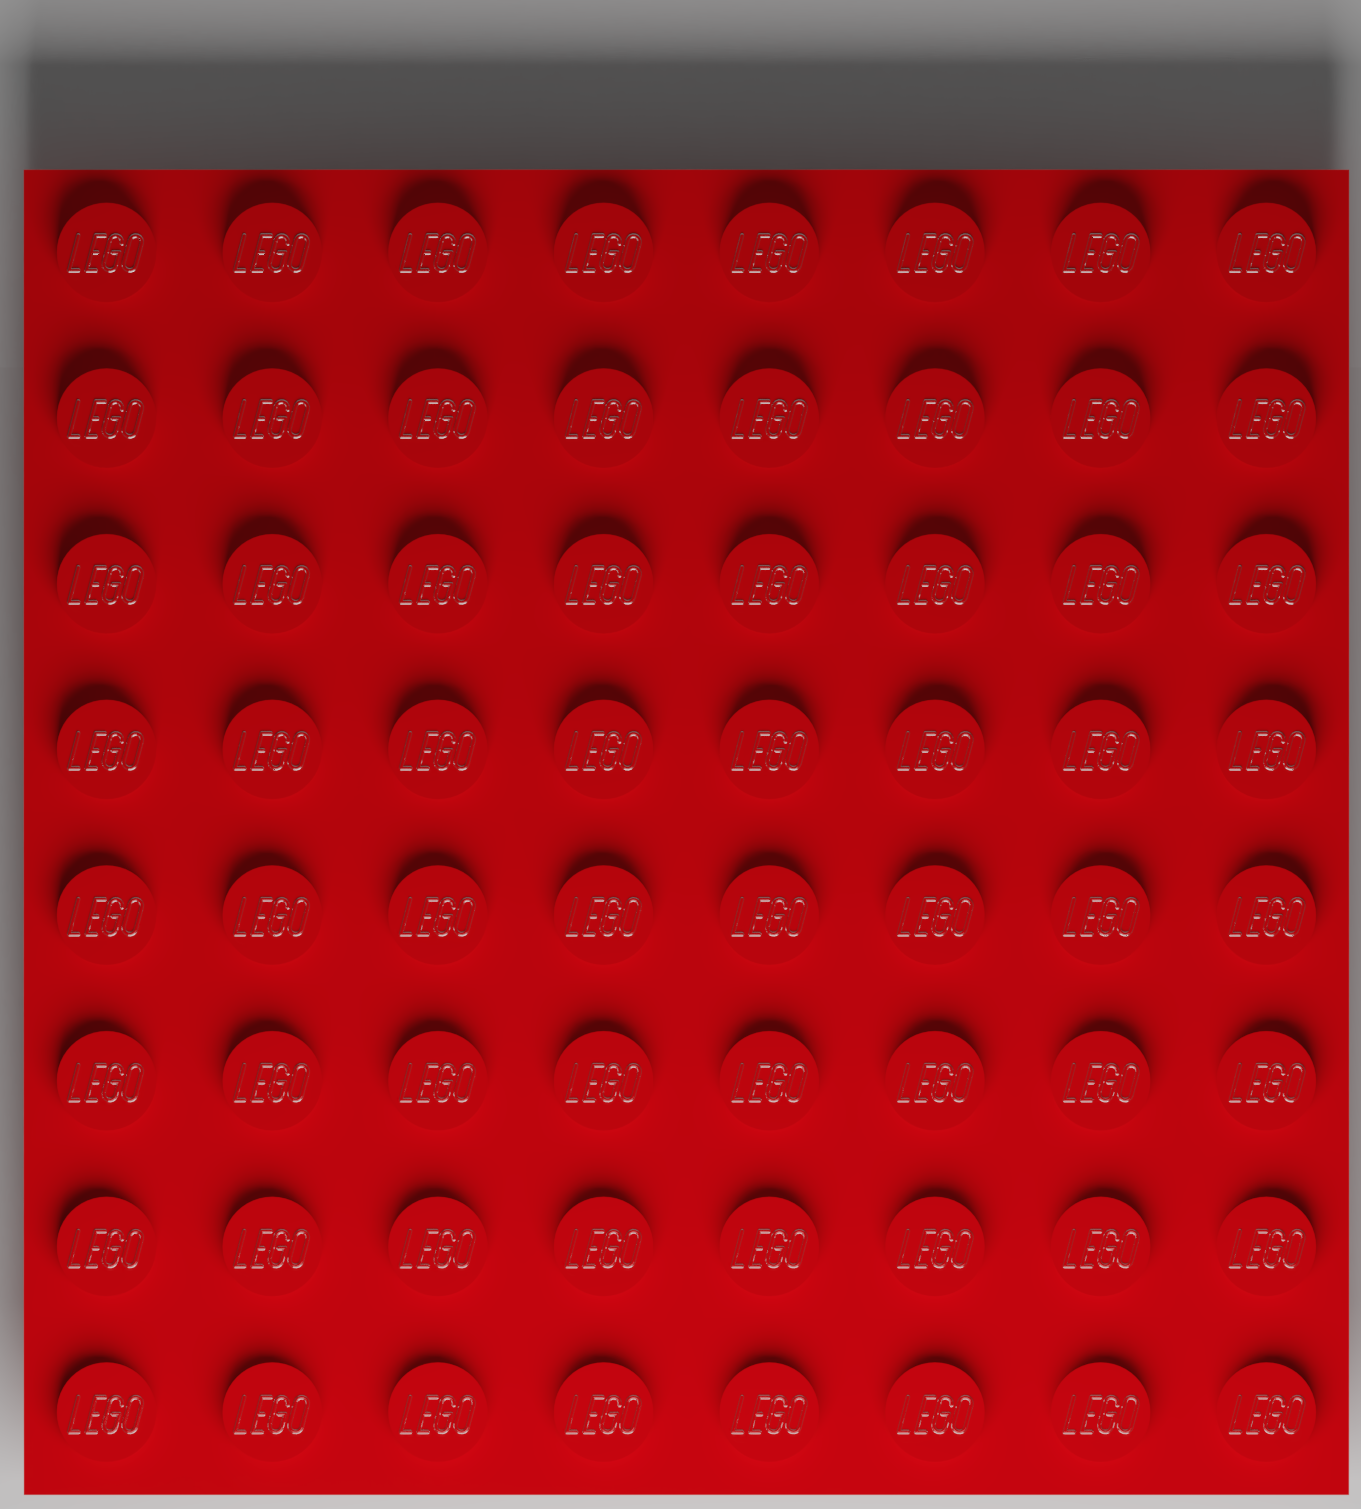
Blender is totally different from Studio 2.0. The only 1 very similar model I got from Collada and LDraw and I tried zmbz as well (https://i.paste.pics/36d643fba526d2b07d9fa28e58793cba.png) is a way far from the one from Unknown Source (https://cdn.hipwallpaper.com/i/61/83/URpdwf.jpg) and still very far even from the Studio 2.0 render. The issue in the Blender the edge of LEGO stud, for the Collada I have imported, It is not round as supposed to be and that is why the lighting in not bouncing.
The imported LDraw has worked a bit better but the stud is not perfectly round ( Rendered https://i.paste.pics/eedbb491ae4956531baafe8ce13f41a6.png ; https://i.paste.pics/3e53557fe6c7c15f5d34796aada3b354.png ; Lighting setup - https://i.paste.pics/9f84d4bb279a57c1e7b3c1a3e507fce6.png)
So while using Blender 2.81 (https://i.paste.pics/eedbb491ae4956531baafe8ce13f41a6.png) I could not get the stud perfectly round as in Studio and the lighting is still not bright and rich enough for the stud surface. Upon the light increasing, it is increasing for all object surface and getting too bright and all the object looks ugly(( I almost gave up and decided to go for Studio 2.0 and forget abt Blender. Being a big LEGO fan, as I grew up on LEGO bricks, my sons and nephews as well, I have recently discovered that the Studio and Blender gives you a lot of opportunities to build your own model with 0 spending, all you need, is just to know how to render the models properly. Studio is not enough. I am impressed by the Scrubs works and many others online and I really want to know the limits of the renderings, and how cool it can look once rendered. But, unfortunately, I still cannot get the baseplate rendered as I want, and that is why decided to go for extra mile to get your professional opinion.
ArmoredBricks, I have added, rotated all types of lights(Sun Spot Area Point) I have used 15 different "HDRI Havens" Studio, Outdoor, Sky, Indoor, Nature. but still nothing even close to what I want. How the hell this background was made? With the God's help? I dont want to be disappointed, if it was just Photoshoped and keep trying . All my free time goes "Blendered".
I would really appreciate Scrubs and Your help if you could just try to get the object done as same as the original one from the unknown source (https://cdn.hipwallpaper.com/i/61/83/URpdwf.jpg)
As for now, for me to make the same picture seems to impossible due to unexplainable lighting technique used in that object. The edges in the front are very bright and still the light does not affect all the surface to be more brighter as it is working in Blender. Why? How the LEGO logo gets lighting and the rest of the stud surface is not? I got so many questions and the Blender seems to be an answer. I have started learning Maya and MODO as per Renderbricks.com he made it possible, seems to be..
I keep trying.....
Thanks both of you again for the reply.
@ruslanzpua Stud.io is not great at rendering and cannot be tweaked. It adds strong ambient occlusion everywhere. Besides, it is faking bevel. Hence the top white area and the sharp edge at the bottom. This technic doesn't work for close up shots.
The only way to solve that is to get real geometry for bevels.
Scrubs, can you guide what is the best render so far to get that plate rendered properly in case if i get the object with a proper bevel?
p.s. thanks for the shading, didnt notice it is faked.
This is mildly off topic, but is it even possible to render in perspective using Stud.io 2.0? It seems every render I've seen is in ortho.
ArmoredBricks, yes it is possible. But the point is to get it rendered in orthographic, and i have done it, but the lighting is still not as required. Can you help me with the stud? how can I make it perfectly round at least?
to make i t rounder, add a subdivision surface modifier
Hi ruslanzpua,
In the meantime did you manage to solve your problem or do you still need some help?
Have a great day, cheerz gt
Hi gthreepwood10,
Still not yet, trying to discover more tools to achieve that. Still dont know how to make the same lighting and shadowing as shown here https://cdn.hipwallpaper.com/i/61/83/URpdwf.jpg. Would be happy if you could advice!
Citrine, thank you so much for the advice!
Hi ruslanzpulsa,
I tried to recreate your desired image. To get the excact lighnting is not really complicated. I can assist you or swap over a blend file with the lightning setup. First of all, I would only set lighting for one square brick. As a final rendering you have a square and seamless brick. The rendering should be placed as a smart object in Photoshop and duplicate it as desired. If you change color or mood just render one brick and update the Smart Obejct. The problem I encounter is the mesh. When im importing the mesh into blender the lego logo always is disrupted. The second issue I have if the imported brick gets a sub division modifier it doesnt look perfect smooth. For best result maybe a nurbs file or very high poly mesh is needed. To get the right lighting I used two point lamps. The first lamp is glossy only and makes the desired reflection at the round edge. The second light is shadow only. Changing the size of lamp makes the shadow smoother. After the rendering you can use the difcol output to have an flat seamless lightning and add the reflection and shadow pass. Hope this makes sense. Don´t hestitate if you have questions. Have a great day, cheerz gt
Hi gthreepwood10,
I would be very happy to see the work you have done. Yes I was thinking as well to get it done on a single brick, stud and get it multiplied in a Photoshop but every time I am checking the original I can see that the upper side of this plate (https://cdn.hipwallpaper.com/i/61/83/URpdwf.jpg) is brighter than the bottom one, means the lighting for the base plate was applied on the whole baseplate, means they have done in not in a single stud but whole baseplate. This work is making me more curious how it can be achieved? If you dont mind may I see the blend file you have done?
p.s the avatar pic I got in Studio is almost perfect but still the light is excessive and no proper shadow. As Scrubs said it is fake and not realistic as supposed to be. I think still it can be done with the right stud model and bevel on top of the stud. once i got more time I will try to design my own plate with all the shapes.
Thank you for the reply!
Hi ruslanzpua,
i will upload a .blend file for you, no problem. The lightning on the baseplate is a simple gradient done in photoshop. If you trying to lighten to whole baseplate in blender you will probably get no homogenous lightning on the studs. It is possoble to lighten perfectly a whole basepkate but a lot of more work tweaking the light into correct position. I will let you know as soon the blend file is uploaded.
have agreat day, cheerz gt
Thank you, gthreepwood1001, I will be waiting for your file. Lets see if I can improve it somehow.
Hi Ruslapunsa,
Shall I send you the file via wetransfer or per email? It´s a 12mb file size. In the blend file you have four light sources. The area controls the dense of the shadow, two reflections lights and one shadow caster. Just replace the stud with yours. To make my life easier in postproduction I always compose the render layers e.g. combine the surfcacecol render layer with the ao, shadow and relflection pass and so on.
Hopefully it helps you a little bit.
Have a great evening, cheerz gt
Hi Ruslapunza,
here's the download link via wetransfer. Just drop me a line if you have any questions. Have a great day, cheerz gt
Moderated: Removed Link
Hi gthreepwood1001, I got the file and it is WOOOOOWW! The setup is really crazy! I ve never seen such a detailed tweaking for the lighting surface rendering and colors.The model of the plate is perfect! this is the perfect shape as for me. How did you get that kind of bevel and all? Thank you for your time you spent doing this. I wish you could achieve what was required(( But now I start thinking it is impossible. If you have done such a great job and still the final result is not the same means it is impossible to achieve(( I wish i could reach the person who did such a great patterns, but maybe not in this life( Are you good at Photoshop? have you tried to do the same project in Photoshop? I start believing it was done only in Photoshop. Thank you again for the
It would have been probably easier just to do the whole thing in a software like photoshop 😉 I am almost sure it is how it was made. it is how I would do it anyway.
@gthreepwood1001 I removed the link. The Blender file that you shared contains assets and data contained in the .blend file belonging to the advanced add-on. It cannot be redistributed. Only the python scripts are covered by the GNU GPL license.
sry scrubs, didn´t know that. Maybe I should have think about twice. Just want to help. I´m pretty in a same situation. Im a retouching artsit who steps into 3d and trying to understand the lego movie look and it´s a wonderfull and damn painstaking process. All that complex shaders and 3 millions buttons in blender. And yes, I´m also pretty sure the bricks are made in Photoshop. Would be the easiest way imo.
@ruslapunza just tweak the setup and you will get your desired results. The meshquality and surfacing is also very important. The smoother the surface the reflections looks better. Good Luck Patreon 😉
have a great day, cheerz gt
LEGO, the LEGO logo, the Minifigure, and the Brick and Knob configurations are trademarks of the LEGO Group of Companies. ©2026 The LEGO Group.
Mecabricks, the Mecabricks logo and all content not covered by The LEGO Group's copyright is, unless otherwise stated, ©2011-2026 Mecabricks.